





Free Online Light Leak Effect for Natural Film Glow Photo Edits
Transform your photos with Pokecut's AI Light Leak tool! Instantly add nostalgic film glow, soft edge exposure, or warm flares to any image. Perfect for viral social media aesthetics, portraits, and creative retro designs.
⚡ Prompt-controlled, seamless blend, 100% natural textures.

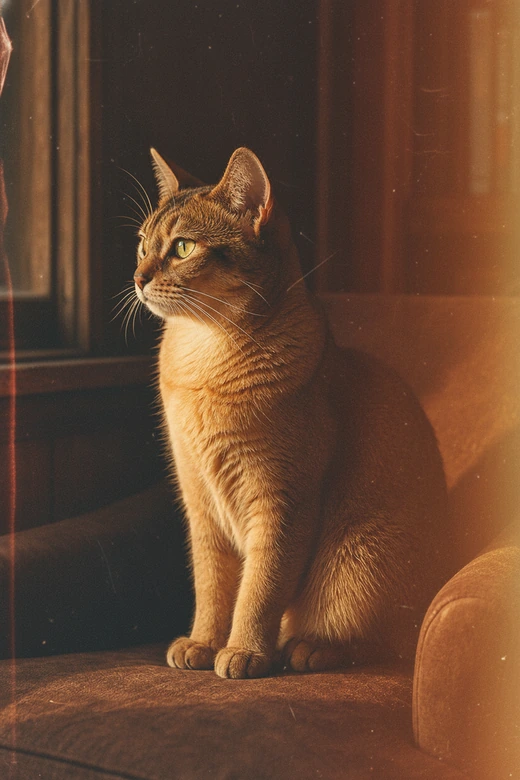
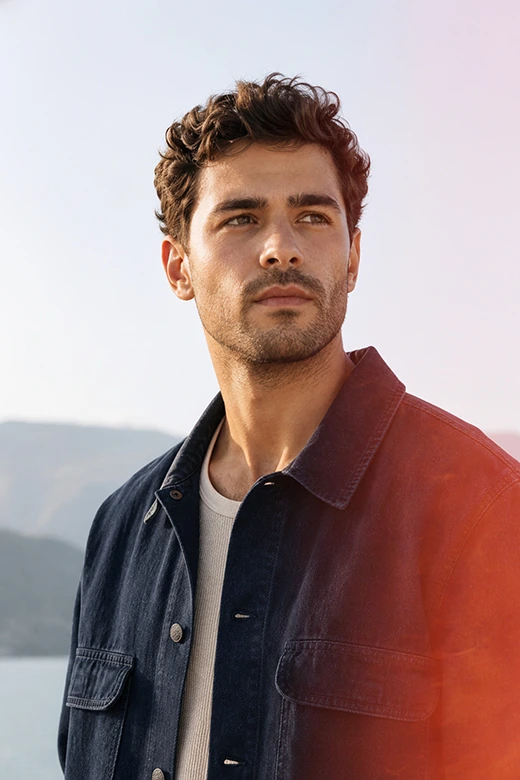

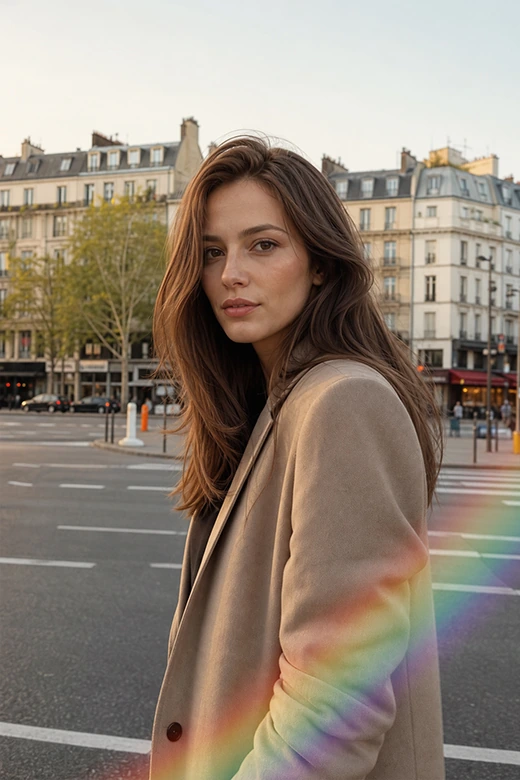
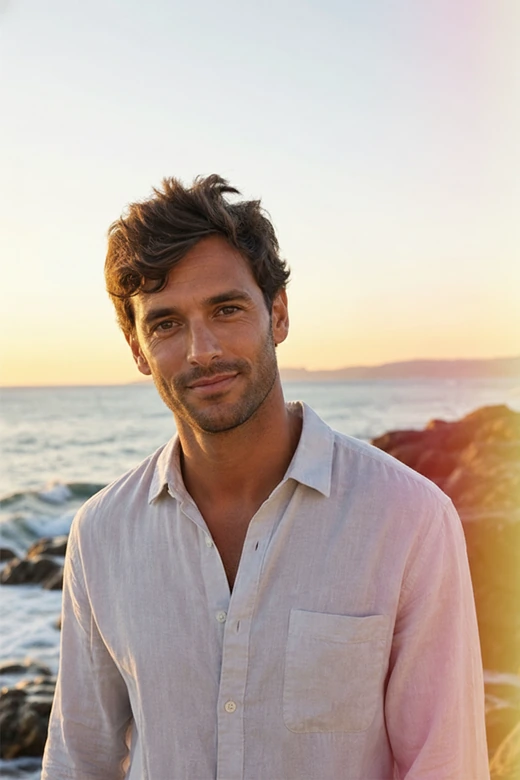




Why Use This Light Leak Effect?
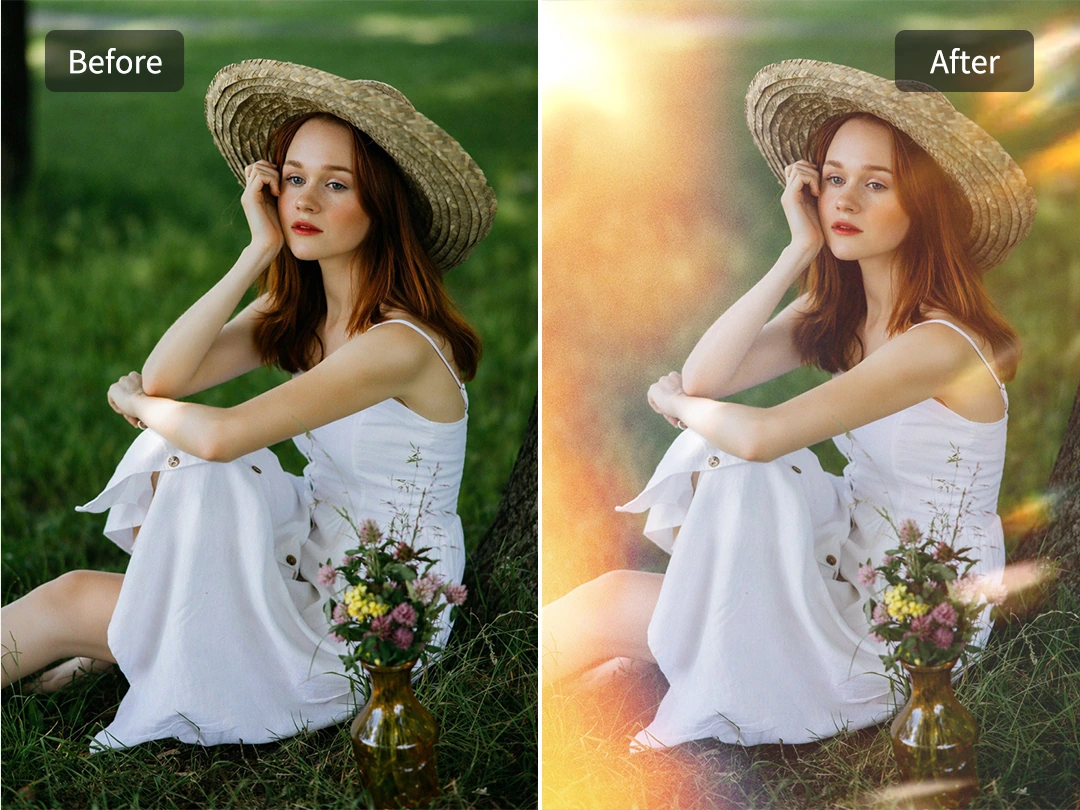
Add Light Leak Effect to Photo Online for Free
Upload one photo and test a light leak effect directly in your browser. Pokecut lets you add warm edge glow, soft film exposure, and a gentle retro mood without installing editing software.
The result feels closer to a real photo moment than a pasted overlay. You can preview the look, adjust the prompt, and keep working until the light supports the subject instead of covering it. Use it when a flat image needs warmth but still has to look like the same shot. For quick posts or personal edits, the free online flow keeps the focus on the image.
Blend Film Burn Effect Into Photo Naturally
This AI light leak effect blends seamlessly with your photo's original environment. Pokecut reads the subject and the existing light, then blends warm glow and film burn effect edges around the scene instead of dropping a flat sticker on top.
Faces, products, and backgrounds stay clear while the photo gains an analog mood. The edit can stay gentle for portraits or stronger for covers, without turning the image into a texture sheet. If you want a broader retro finish, pair the result with a vintage photo filter so the color tone and light leak feel like one planned edit.
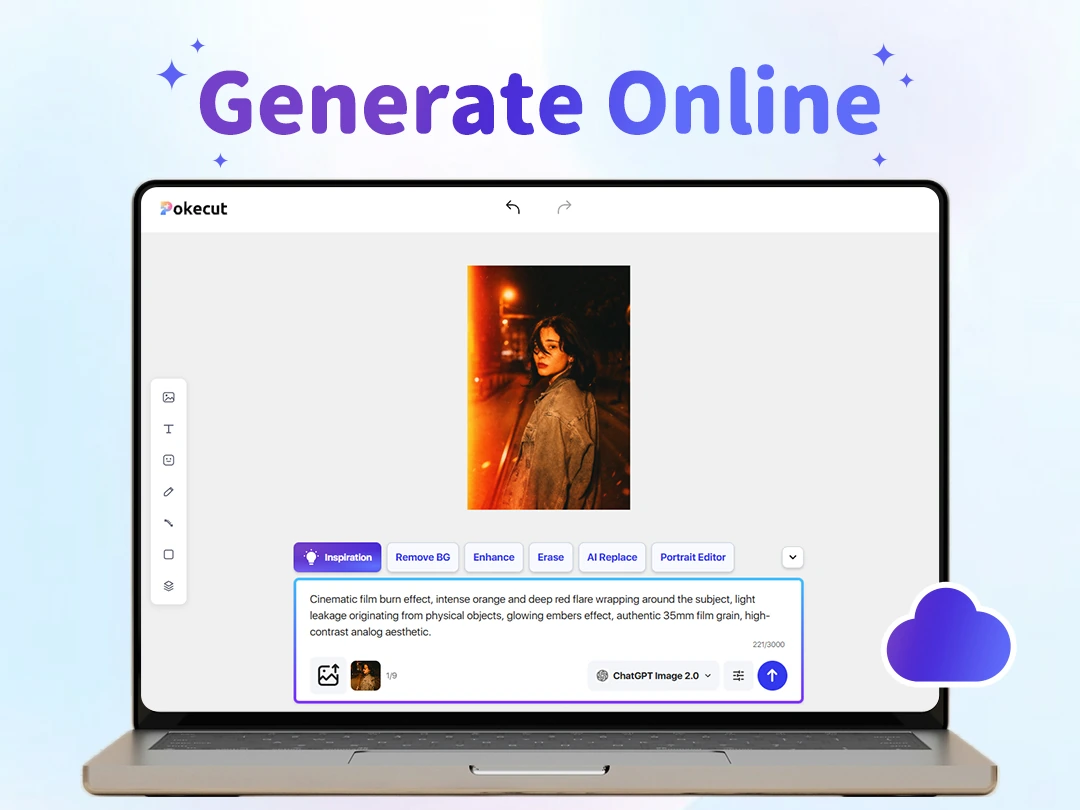
Skip Complex Photoshop Layers and Overlay Packs
Add a light leak effect to a photo without learning layers, masks, or blend modes. Pokecut turns the old light leak overlay workflow into a prompt-led edit, so the hard part becomes describing the look you want. The AI can handle the complex editing process.
Forget hunting for stock textures or manually lining up edges and erasing harsh borders. Now, you can use plain language to guide the color and direction of the light. It's the perfect, beginner-friendly alternative for anyone who wants a film mood without spending hours mastering Photoshop.
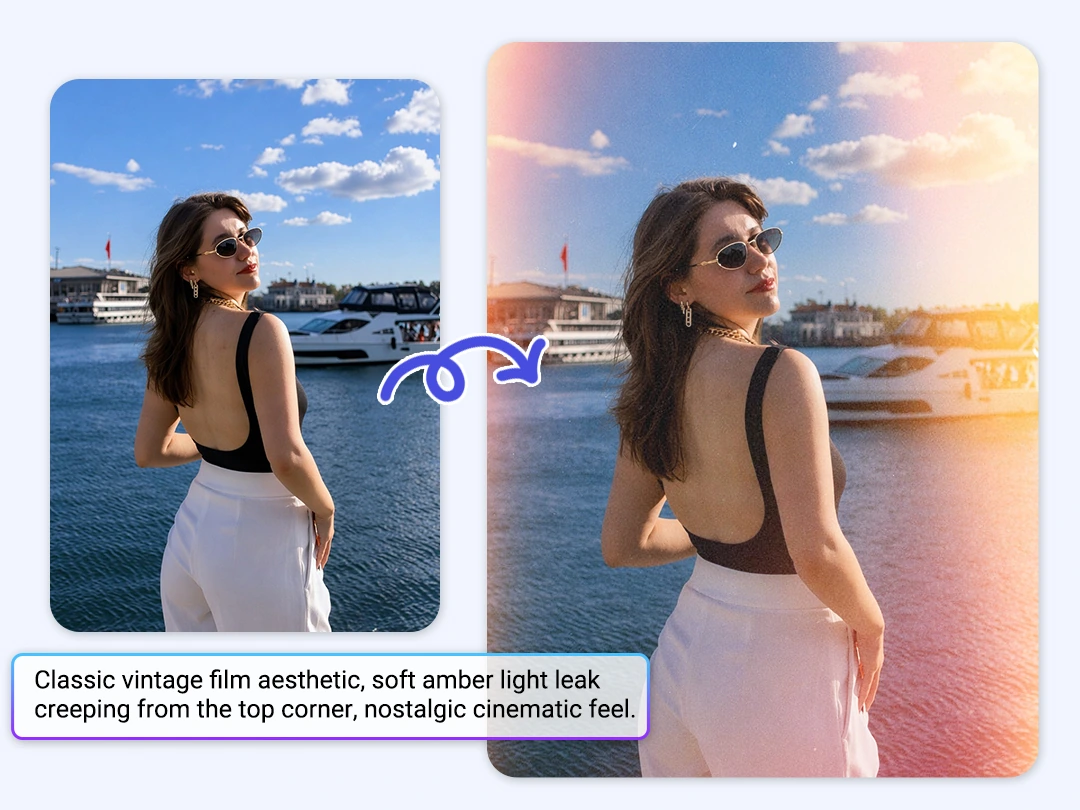
Customize Light Leak Color, Direction, and Strength
Prompt control gives each light leak filter a different mood. Ask for soft gold from the upper left, a red-orange film burn overlay along one edge, or a cooler blue glow when the photo needs a quieter tone.
Fixed filters often push every image into the same look. Pokecut gives you room to tune the light around the subject, so a social post, portrait, or product image can keep its own story. The same photo can move from subtle warmth to bold film burn without rebuilding the edit. Small prompt changes can soften the glow or make the edge exposure stronger.
Where Light Leak Effects Fit Best
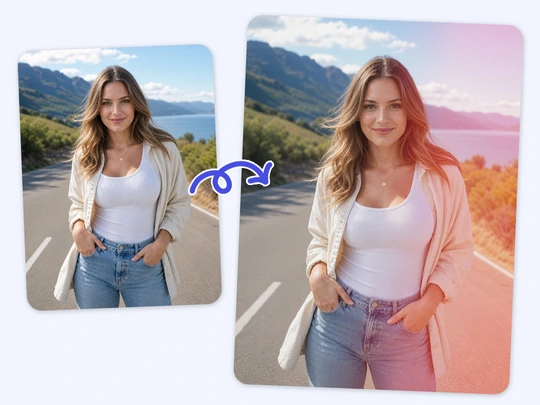
Personal Photos
Portraits and travel shots gain instant warmth from a soft analog film effect. Pokecut naturally preserves facial details and facial features while the light adds a beautiful, nostalgic, memory-like tone to your daily moments.
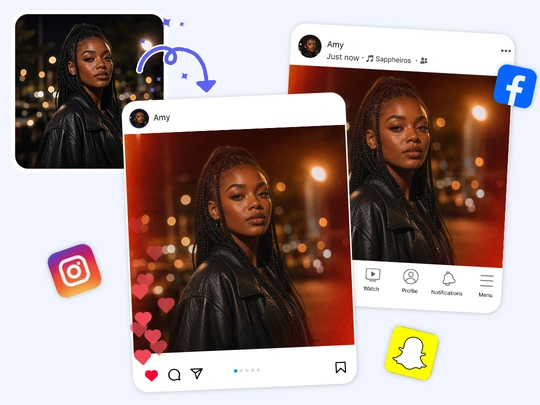
Creator Posts
Give your social feed a cohesive retro vibe. Apply vibrant light leaks to your covers or video thumbnails, then seamlessly elevate your overall visual branding with our aesthetic photo editor to keep your followers engaged.
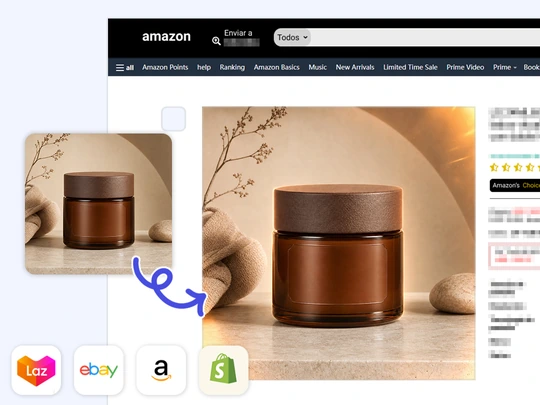
Commercial Visuals
Product shots and music album art can leverage film burns for emotional impact without losing commercial clarity. Pokecut keeps your main subject perfectly crisp while the creative glow adds a premium storytelling layer.
Manual Overlay Editing vs Pokecut AI Light Leak
Skip the hassle of searching for assets and tweaking complex layers. See how Pokecut transforms the traditional light leak workflow into a fast, prompt-driven AI experience.
How to Add a Light Leak Effect to a Photo
Step 1: Upload Your Photo
Choose a clear portrait, product shot, or social image. A clean source photo helps Pokecut keep the subject sharp while adding the light leak effect.
Step 2: Describe the Glow
Write the color, direction, and strength you want, such as a warm corner glow or a soft film burn overlay along one edge of the photo for the final style.
Step 3: Preview and Download
Check the generated photo. If the glow feels too strong or sits in the wrong place, revise the prompt and download the best version for your post.

What Users Say About Pokecut Light Leak Edits
Users like the quick prompt control and the natural film-style glow.


Maya R.

"I used Pokecut on a travel portrait that felt too plain. The warm light leak made it look like an old film scan, but my face stayed clear."
Ethan C.
"I usually struggle with Photoshop layers. With this tool, I just described a red edge glow and got a usable cover image in a few tries."
Nora T.
"The best part is the control. I could ask for softer light when the first version felt too bright, so the final photo matched my feed."
Caleb M.
"I needed a quick retro product visual. Pokecut added a film burn edge without making the item look blurry or covered by texture."
Linda P.
"The prompt examples helped a lot. I changed the color and corner direction, then used the result for a music poster draft."
Jon A.
"I liked that I did not have to buy an overlay pack. Uploading the photo and adjusting the prompt was enough for my thumbnail."
Maya R.
"I used Pokecut on a travel portrait that felt too plain. The warm light leak made it look like an old film scan, but my face stayed clear."
Ethan C.
"I usually struggle with Photoshop layers. With this tool, I just described a red edge glow and got a usable cover image in a few tries."
Nora T.
"The best part is the control. I could ask for softer light when the first version felt too bright, so the final photo matched my feed."
Caleb M.
"I needed a quick retro product visual. Pokecut added a film burn edge without making the item look blurry or covered by texture."
Linda P.
"The prompt examples helped a lot. I changed the color and corner direction, then used the result for a music poster draft."
Jon A.
"I liked that I did not have to buy an overlay pack. Uploading the photo and adjusting the prompt was enough for my thumbnail."
Maya R.
"I used Pokecut on a travel portrait that felt too plain. The warm light leak made it look like an old film scan, but my face stayed clear."
Ethan C.
"I usually struggle with Photoshop layers. With this tool, I just described a red edge glow and got a usable cover image in a few tries."
Nora T.
"The best part is the control. I could ask for softer light when the first version felt too bright, so the final photo matched my feed."
Caleb M.
"I needed a quick retro product visual. Pokecut added a film burn edge without making the item look blurry or covered by texture."
Linda P.
"The prompt examples helped a lot. I changed the color and corner direction, then used the result for a music poster draft."
Jon A.
"I liked that I did not have to buy an overlay pack. Uploading the photo and adjusting the prompt was enough for my thumbnail."
Maya R.
"I used Pokecut on a travel portrait that felt too plain. The warm light leak made it look like an old film scan, but my face stayed clear."
Ethan C.
"I usually struggle with Photoshop layers. With this tool, I just described a red edge glow and got a usable cover image in a few tries."
Nora T.
"The best part is the control. I could ask for softer light when the first version felt too bright, so the final photo matched my feed."
Caleb M.
"I needed a quick retro product visual. Pokecut added a film burn edge without making the item look blurry or covered by texture."
Linda P.
"The prompt examples helped a lot. I changed the color and corner direction, then used the result for a music poster draft."
Jon A.
"I liked that I did not have to buy an overlay pack. Uploading the photo and adjusting the prompt was enough for my thumbnail."
Maya R.
"I used Pokecut on a travel portrait that felt too plain. The warm light leak made it look like an old film scan, but my face stayed clear."
Ethan C.
"I usually struggle with Photoshop layers. With this tool, I just described a red edge glow and got a usable cover image in a few tries."
Nora T.
"The best part is the control. I could ask for softer light when the first version felt too bright, so the final photo matched my feed."
Caleb M.
"I needed a quick retro product visual. Pokecut added a film burn edge without making the item look blurry or covered by texture."
Linda P.
"The prompt examples helped a lot. I changed the color and corner direction, then used the result for a music poster draft."
Jon A.
"I liked that I did not have to buy an overlay pack. Uploading the photo and adjusting the prompt was enough for my thumbnail."
Caleb M.
"I needed a quick retro product visual. Pokecut added a film burn edge without making the item look blurry or covered by texture."
Linda P.
"The prompt examples helped a lot. I changed the color and corner direction, then used the result for a music poster draft."
Jon A.
"I liked that I did not have to buy an overlay pack. Uploading the photo and adjusting the prompt was enough for my thumbnail."
Maya R.
"I used Pokecut on a travel portrait that felt too plain. The warm light leak made it look like an old film scan, but my face stayed clear."
Ethan C.
"I usually struggle with Photoshop layers. With this tool, I just described a red edge glow and got a usable cover image in a few tries."
Nora T.
"The best part is the control. I could ask for softer light when the first version felt too bright, so the final photo matched my feed."
Caleb M.
"I needed a quick retro product visual. Pokecut added a film burn edge without making the item look blurry or covered by texture."
Linda P.
"The prompt examples helped a lot. I changed the color and corner direction, then used the result for a music poster draft."
Jon A.
"I liked that I did not have to buy an overlay pack. Uploading the photo and adjusting the prompt was enough for my thumbnail."
Maya R.
"I used Pokecut on a travel portrait that felt too plain. The warm light leak made it look like an old film scan, but my face stayed clear."
Ethan C.
"I usually struggle with Photoshop layers. With this tool, I just described a red edge glow and got a usable cover image in a few tries."
Nora T.
"The best part is the control. I could ask for softer light when the first version felt too bright, so the final photo matched my feed."
Caleb M.
"I needed a quick retro product visual. Pokecut added a film burn edge without making the item look blurry or covered by texture."
Linda P.
"The prompt examples helped a lot. I changed the color and corner direction, then used the result for a music poster draft."
Jon A.
"I liked that I did not have to buy an overlay pack. Uploading the photo and adjusting the prompt was enough for my thumbnail."
Maya R.
"I used Pokecut on a travel portrait that felt too plain. The warm light leak made it look like an old film scan, but my face stayed clear."
Ethan C.
"I usually struggle with Photoshop layers. With this tool, I just described a red edge glow and got a usable cover image in a few tries."
Nora T.
"The best part is the control. I could ask for softer light when the first version felt too bright, so the final photo matched my feed."
Caleb M.
"I needed a quick retro product visual. Pokecut added a film burn edge without making the item look blurry or covered by texture."
Linda P.
"The prompt examples helped a lot. I changed the color and corner direction, then used the result for a music poster draft."
Jon A.
"I liked that I did not have to buy an overlay pack. Uploading the photo and adjusting the prompt was enough for my thumbnail."
Maya R.
"I used Pokecut on a travel portrait that felt too plain. The warm light leak made it look like an old film scan, but my face stayed clear."
Ethan C.
"I usually struggle with Photoshop layers. With this tool, I just described a red edge glow and got a usable cover image in a few tries."
Nora T.
"The best part is the control. I could ask for softer light when the first version felt too bright, so the final photo matched my feed."
Caleb M.
"I needed a quick retro product visual. Pokecut added a film burn edge without making the item look blurry or covered by texture."
Linda P.
"The prompt examples helped a lot. I changed the color and corner direction, then used the result for a music poster draft."
Jon A.
"I liked that I did not have to buy an overlay pack. Uploading the photo and adjusting the prompt was enough for my thumbnail."
Maya R.
"I used Pokecut on a travel portrait that felt too plain. The warm light leak made it look like an old film scan, but my face stayed clear."
Ethan C.
"I usually struggle with Photoshop layers. With this tool, I just described a red edge glow and got a usable cover image in a few tries."
Nora T.
"The best part is the control. I could ask for softer light when the first version felt too bright, so the final photo matched my feed."
Reviews from: Reddit, Product Hunt, G2, TrustRadius, Google Play, App Store, and more.
Light Leak Effect FAQs
What is a light leak effect in photo editing?
A light leak effect mimics accidental film camera exposure. Pokecut adds warm edge glow and soft color bleed, giving digital photos a retro film look without manual texture layering or blend-mode work.
How can I add a light leak effect online?
Upload a photo to Pokecut and describe the glow you want. The tool can add a light leak effect to a photo with prompt control, so you skip masks, texture packs, and blend modes. Keep the subject visible.
What photos work best with a light leak filter?
Portraits, travel shots, covers, and lifestyle product photos often work well. A light leak filter looks best when the glow supports the subject instead of hiding faces, text, or product details in the final image.
Can I control the color and strength of the leak?
Yes. Pokecut lets you describe color, direction, and intensity. Ask for soft gold, a red film burn effect, or a cooler edge glow to match the photo mood, then regenerate until the result fits cleanly.
Do I need Photoshop to use a light leak overlay?
No. Pokecut removes the need for a light leak overlay pack or Photoshop layers. Describe the look in plain English, then regenerate if the glow needs better placement or strength before downloading it.

Pokecut's Light Leak Effect Trusted by Professionals and Users

1M+ Users Worldwide
Pokecut generates over 500,000 images every day

#2 on Product Hunt
Pokecut was voted #2 Product of the Day on launch

Professional Privacy Protection
Ensure 100% data privacy for every photo

Trusted by Well-Known Brands
Apple, Google, PayPal, Stripe, Product Hunt, G2, TrustRadius