





Add Logo to Photo Online for Free
Add a logo to a photo in your browser with Pokecut. Upload your image and logo, remove the logo background with AI if needed, then place, resize, and adjust opacity for a clean branded result. Use it for product photos, social media posts, marketing images, and watermark protection.






By uploading an image or URL you agree to our Terms of Use and Privacy Policy
How to Add a Logo to a Photo Online
step 1: Upload Your Logo Image
Select your logo image from your device. Use a high-quality file for the best results. Easily upload logo to picture with our drag and drop logo tool.
step 2: Remove Logo Background with AI
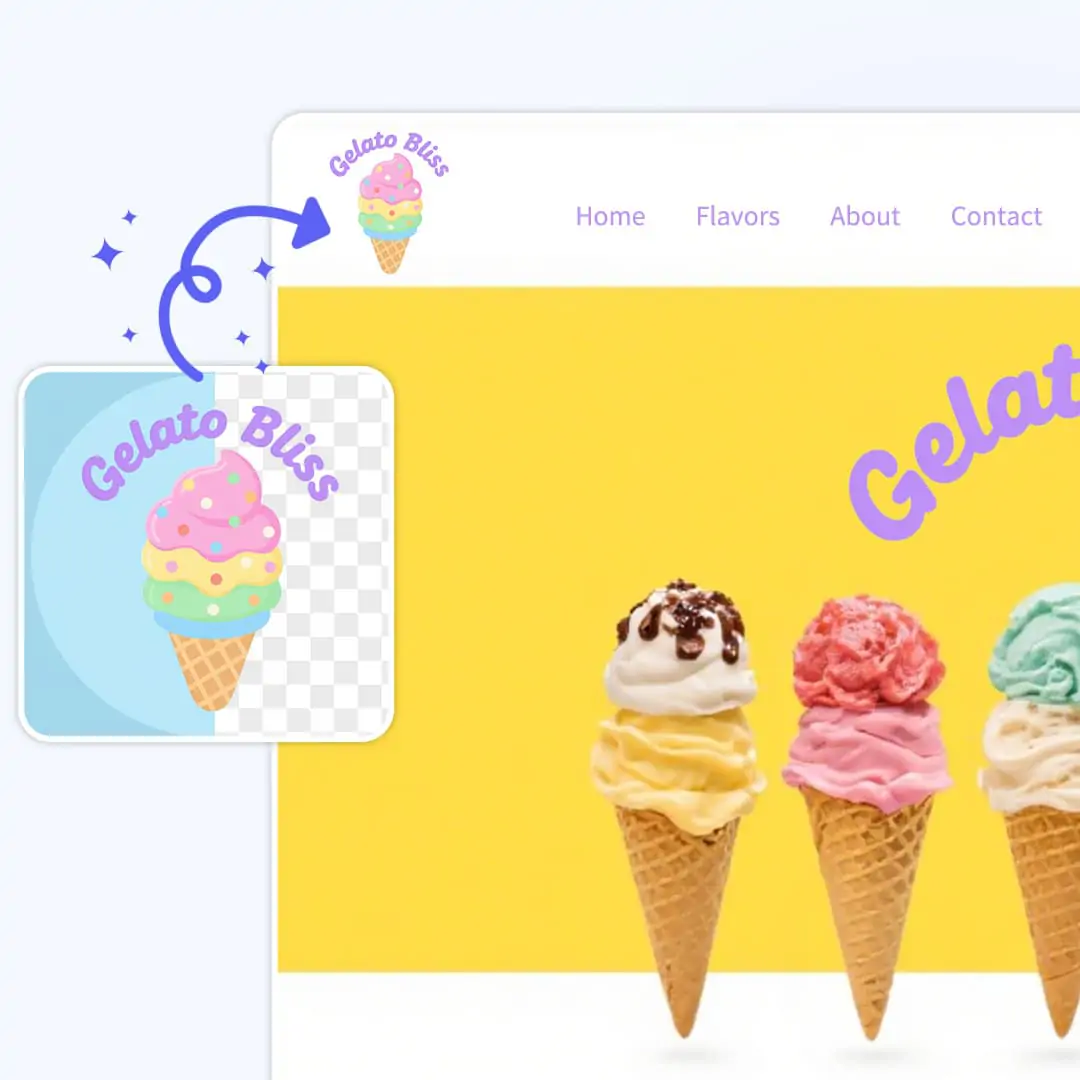
Let AI remove the logo background automatically. Create a transparent logo for easy overlay on photo. Achieve seamless results with our image background changer.
step 3: Add Logo to Your Photo
Select your target photo and insert the transparent logo. Drag to adjust logo size and placement. Use layer tools to overlay logo on photo for the best visual effect.
step 4: Download the Final Image
Preview your photo with the logo overlay. Click to download the final image instantly. Save your branded picture for easy sharing or marketing use.


Add a Transparent PNG Logo to a Photo
Start with a transparent PNG when you want the logo to look like part of the photo rather than a sticker on top. If your logo has a white or solid background, upload it first and remove that background before placing it on the image.
Pokecut is useful for product listings, team photos, event graphics, and branded announcements because the same clean logo can sit on different photos without blocking the subject. Use a clear logo file with enough contrast, then preview the edges before downloading.
Add Logo to Photo with Custom Size and Opacity
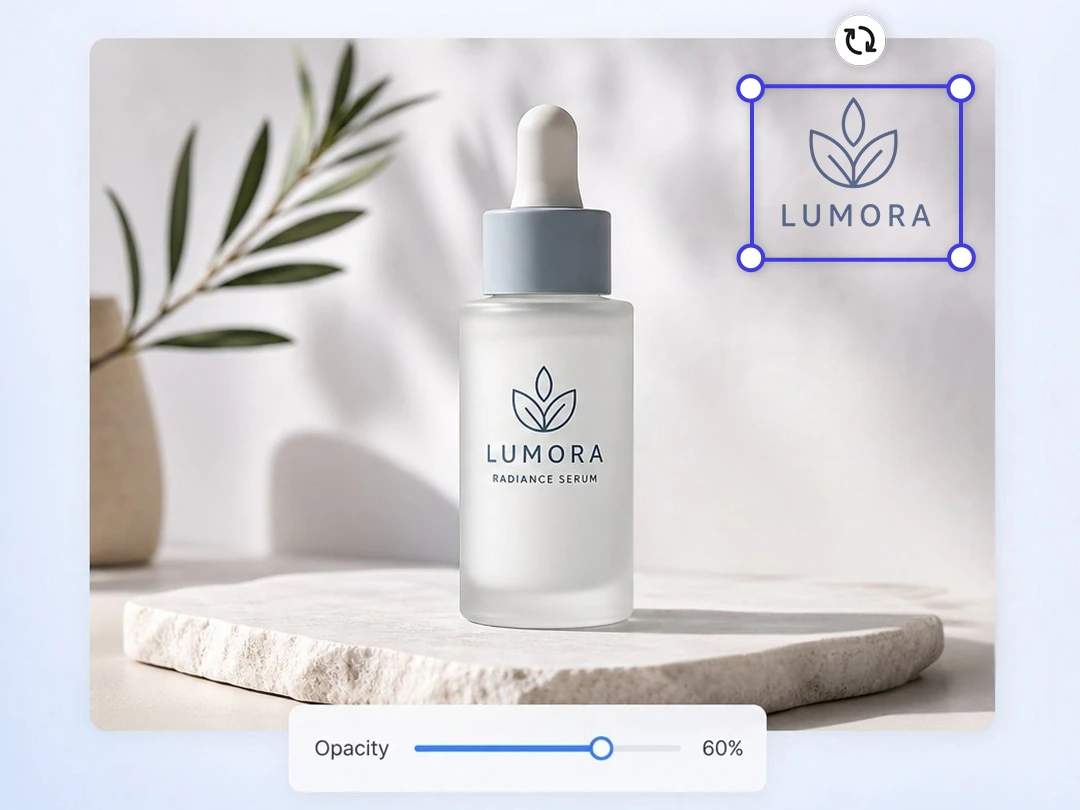
When you add a logo to a photo, size and opacity decide whether the mark feels like branding or a watermark. A campaign cover may need a larger, clearer logo, while daily product photos usually look better with a smaller mark in a corner.
Use Pokecut to place logo on image layouts, resize it, and lower opacity when the image needs protection rather than promotion. Preview the photo at the size where it will be posted, because a subtle desktop logo can disappear in a small mobile thumbnail.
Use a Logo Adder for Real Brand Photos

Add Brand Logo to Photo
Put your brand logo on product images before you upload them to a store, catalog, or marketplace. This is a practical way to add logo to picture files without hiding product details.

Add Logo to Social Media Posts
Use the same logo position across reels covers, feed posts, and announcement graphics. Consistent placement helps people recognize your brand while the photo remains easy to read.
Place Logo on Marketing Images
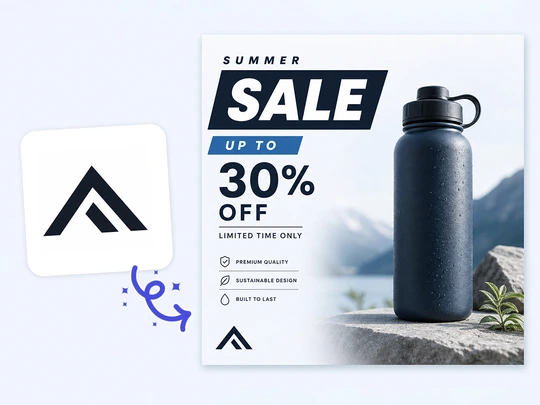
Use Pokecut to add logo on image assets for ads, flyers, and event promotions. Adjust the size and contrast so the logo stays visible on both light and dark backgrounds.

Best Logo Placement and Watermark Opacity Tips
Logo placement should protect the message of the photo first.
● Put the logo along an edge, in a corner, or in an area with simple texture so it stays readable without covering faces, product details, price labels, or important text.
● For watermark use, start around 30%-50% opacity and adjust based on the background.
● On dark images, a light logo often reads better; on bright images, a darker logo or soft shadow can help.
● Keep the same position across a set of photos to make the brand feel consistent.
See What Users Say About Pokecut's Logo Adder
Small business owners, marketers, and creators use Pokecut to brand photos without managing complex editing layers.


Maya R.

"I use it to add our shop logo to product photos before posting new arrivals. The opacity control helps the mark feel present without covering the product."
Daniel K.
"My logo file had a white background, so I cleaned it first and placed it on a team photo. It looked much better than dropping a square image on top."
Priya S.
"For social posts, I keep the logo in the same corner and resize it for each image. The workflow is simple enough for quick daily updates."
Ben T.
"I needed a watermark logo on preview photos for a client gallery. Lowering the opacity made the images look protected but still clean."
Elena P.
"The tool is helpful when I prepare campaign images and want the logo to match each layout. I can preview the position before saving."
Marcus L.
"I mostly use it for event photos and flyers. It saves me from opening a layered design file just to add a small brand mark."
Maya R.
"I use it to add our shop logo to product photos before posting new arrivals. The opacity control helps the mark feel present without covering the product."
Daniel K.
"My logo file had a white background, so I cleaned it first and placed it on a team photo. It looked much better than dropping a square image on top."
Priya S.
"For social posts, I keep the logo in the same corner and resize it for each image. The workflow is simple enough for quick daily updates."
Ben T.
"I needed a watermark logo on preview photos for a client gallery. Lowering the opacity made the images look protected but still clean."
Elena P.
"The tool is helpful when I prepare campaign images and want the logo to match each layout. I can preview the position before saving."
Marcus L.
"I mostly use it for event photos and flyers. It saves me from opening a layered design file just to add a small brand mark."
Maya R.
"I use it to add our shop logo to product photos before posting new arrivals. The opacity control helps the mark feel present without covering the product."
Daniel K.
"My logo file had a white background, so I cleaned it first and placed it on a team photo. It looked much better than dropping a square image on top."
Priya S.
"For social posts, I keep the logo in the same corner and resize it for each image. The workflow is simple enough for quick daily updates."
Ben T.
"I needed a watermark logo on preview photos for a client gallery. Lowering the opacity made the images look protected but still clean."
Elena P.
"The tool is helpful when I prepare campaign images and want the logo to match each layout. I can preview the position before saving."
Marcus L.
"I mostly use it for event photos and flyers. It saves me from opening a layered design file just to add a small brand mark."
Maya R.
"I use it to add our shop logo to product photos before posting new arrivals. The opacity control helps the mark feel present without covering the product."
Daniel K.
"My logo file had a white background, so I cleaned it first and placed it on a team photo. It looked much better than dropping a square image on top."
Priya S.
"For social posts, I keep the logo in the same corner and resize it for each image. The workflow is simple enough for quick daily updates."
Ben T.
"I needed a watermark logo on preview photos for a client gallery. Lowering the opacity made the images look protected but still clean."
Elena P.
"The tool is helpful when I prepare campaign images and want the logo to match each layout. I can preview the position before saving."
Marcus L.
"I mostly use it for event photos and flyers. It saves me from opening a layered design file just to add a small brand mark."
Maya R.
"I use it to add our shop logo to product photos before posting new arrivals. The opacity control helps the mark feel present without covering the product."
Daniel K.
"My logo file had a white background, so I cleaned it first and placed it on a team photo. It looked much better than dropping a square image on top."
Priya S.
"For social posts, I keep the logo in the same corner and resize it for each image. The workflow is simple enough for quick daily updates."
Ben T.
"I needed a watermark logo on preview photos for a client gallery. Lowering the opacity made the images look protected but still clean."
Elena P.
"The tool is helpful when I prepare campaign images and want the logo to match each layout. I can preview the position before saving."
Marcus L.
"I mostly use it for event photos and flyers. It saves me from opening a layered design file just to add a small brand mark."
Ben T.
"I needed a watermark logo on preview photos for a client gallery. Lowering the opacity made the images look protected but still clean."
Elena P.
"The tool is helpful when I prepare campaign images and want the logo to match each layout. I can preview the position before saving."
Marcus L.
"I mostly use it for event photos and flyers. It saves me from opening a layered design file just to add a small brand mark."
Maya R.
"I use it to add our shop logo to product photos before posting new arrivals. The opacity control helps the mark feel present without covering the product."
Daniel K.
"My logo file had a white background, so I cleaned it first and placed it on a team photo. It looked much better than dropping a square image on top."
Priya S.
"For social posts, I keep the logo in the same corner and resize it for each image. The workflow is simple enough for quick daily updates."
Ben T.
"I needed a watermark logo on preview photos for a client gallery. Lowering the opacity made the images look protected but still clean."
Elena P.
"The tool is helpful when I prepare campaign images and want the logo to match each layout. I can preview the position before saving."
Marcus L.
"I mostly use it for event photos and flyers. It saves me from opening a layered design file just to add a small brand mark."
Maya R.
"I use it to add our shop logo to product photos before posting new arrivals. The opacity control helps the mark feel present without covering the product."
Daniel K.
"My logo file had a white background, so I cleaned it first and placed it on a team photo. It looked much better than dropping a square image on top."
Priya S.
"For social posts, I keep the logo in the same corner and resize it for each image. The workflow is simple enough for quick daily updates."
Ben T.
"I needed a watermark logo on preview photos for a client gallery. Lowering the opacity made the images look protected but still clean."
Elena P.
"The tool is helpful when I prepare campaign images and want the logo to match each layout. I can preview the position before saving."
Marcus L.
"I mostly use it for event photos and flyers. It saves me from opening a layered design file just to add a small brand mark."
Maya R.
"I use it to add our shop logo to product photos before posting new arrivals. The opacity control helps the mark feel present without covering the product."
Daniel K.
"My logo file had a white background, so I cleaned it first and placed it on a team photo. It looked much better than dropping a square image on top."
Priya S.
"For social posts, I keep the logo in the same corner and resize it for each image. The workflow is simple enough for quick daily updates."
Ben T.
"I needed a watermark logo on preview photos for a client gallery. Lowering the opacity made the images look protected but still clean."
Elena P.
"The tool is helpful when I prepare campaign images and want the logo to match each layout. I can preview the position before saving."
Marcus L.
"I mostly use it for event photos and flyers. It saves me from opening a layered design file just to add a small brand mark."
Maya R.
"I use it to add our shop logo to product photos before posting new arrivals. The opacity control helps the mark feel present without covering the product."
Daniel K.
"My logo file had a white background, so I cleaned it first and placed it on a team photo. It looked much better than dropping a square image on top."
Priya S.
"For social posts, I keep the logo in the same corner and resize it for each image. The workflow is simple enough for quick daily updates."
Ben T.
"I needed a watermark logo on preview photos for a client gallery. Lowering the opacity made the images look protected but still clean."
Elena P.
"The tool is helpful when I prepare campaign images and want the logo to match each layout. I can preview the position before saving."
Marcus L.
"I mostly use it for event photos and flyers. It saves me from opening a layered design file just to add a small brand mark."
Maya R.
"I use it to add our shop logo to product photos before posting new arrivals. The opacity control helps the mark feel present without covering the product."
Daniel K.
"My logo file had a white background, so I cleaned it first and placed it on a team photo. It looked much better than dropping a square image on top."
Priya S.
"For social posts, I keep the logo in the same corner and resize it for each image. The workflow is simple enough for quick daily updates."
Reviews from: Reddit, Product Hunt, G2, TrustRadius, Google Play, App Store, and more.
Pokecut Trusted by Millions of Leaders and Users

1M+ Users Worldwide
Pokecut generates over 500,000 images every day

#2 on Product Hunt
Pokecut launched and won #2 product of the day

Professional Privacy Protection
Ensure 100% data privacy for every photo

Trusted by Well-known Brands
Apple, Google, PayPal, Stripe, Product Hunt, G2, TrustRadius
FAQ
How do I add a logo to a photo online?
Upload your logo and target photo, then place the logo on the image. If the logo has a solid background, remove it first, then adjust the size, position, and opacity before downloading the final picture.
Can I add PNG logo to photo files?
A PNG logo works well, especially when it already has a transparent background. You can use it as a clear brand mark, or lower opacity if you want the logo to act more like a watermark.
Where should I place logo on image layouts?
Place the logo in a corner, along an edge, or in an open area of the photo. Avoid faces, product details, important text, and any area that might be cropped on social platforms.
Can I add watermark logo to photo previews?
Start with 30%-50% opacity for a watermark logo. Use a higher opacity when the goal is brand promotion, but preview the image to make sure the mark does not distract from the subject.
Can I use this as a logo inserter for multiple photos?
You can apply the same prepared logo to more than one target photo. It also works when you need to insert logo on picture files one by one, reuse the logo placement, and download branded results.