




Overlay Images Online: Add Photo to Photo for Free
Use Pokecut to overlay images online, add a photo, logo, text, or transparent PNG over your base image, then resize, rotate, adjust opacity, and export.
✨Layer photos easily 🏆Adjust opacity & position 👍Download clean results





By uploading an image or URL you agree to our Terms of Use and Privacy Policy
How to Overlay Images Online with Pokecut
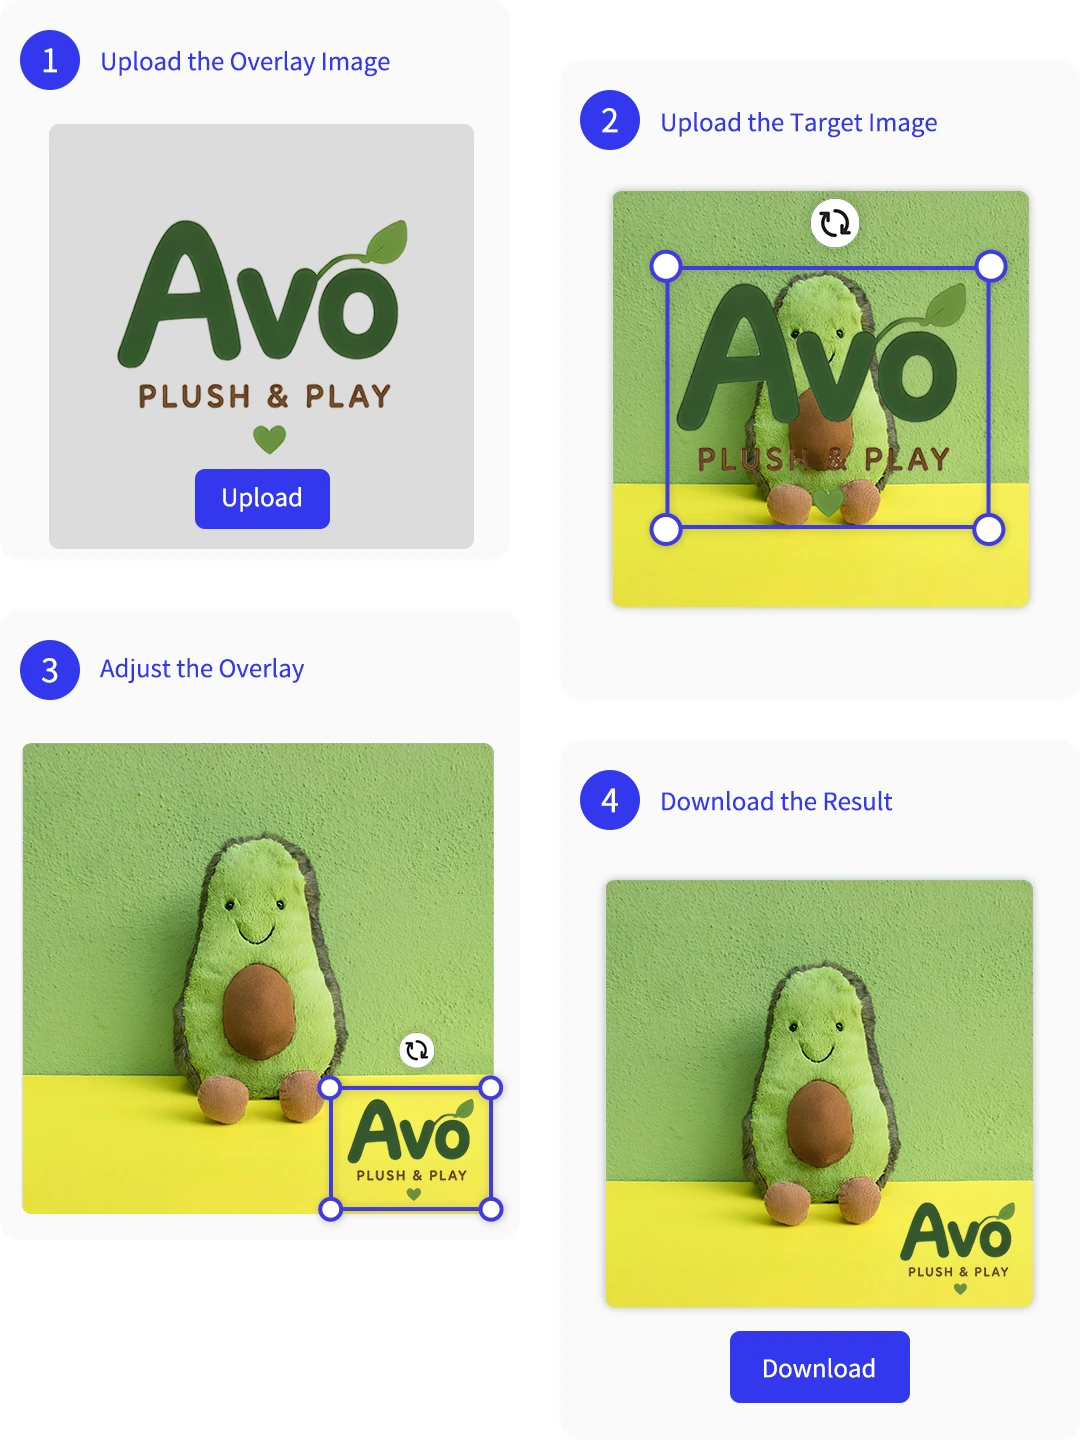
Step 1: Upload the Overlay Image
Upload the photo, logo, sticker, or object you want to overlay. Pokecut can remove its background so the layer is ready to place.
Step 2: Upload the Target Image
Add the target image that will sit underneath, then place the transparent overlay layer on top of it.
Step 3: Adjust the Overlay Size and Position
Resize, rotate, reposition, and adjust transparency until the overlay fits the target image naturally.
Step 4: Download the Result
Preview the final image, make any last layer edits, then download the finished overlay design.
Why Use Pokecut to Overlay Images Online?
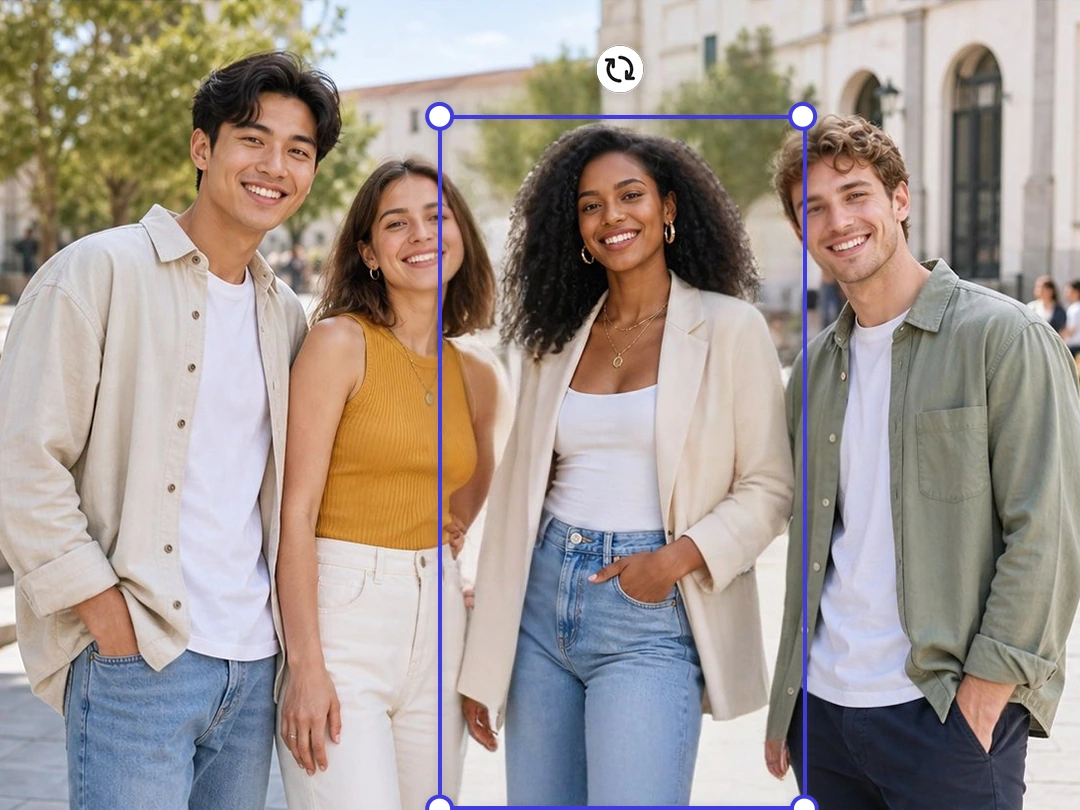
Easily Overlay Images Online with AI
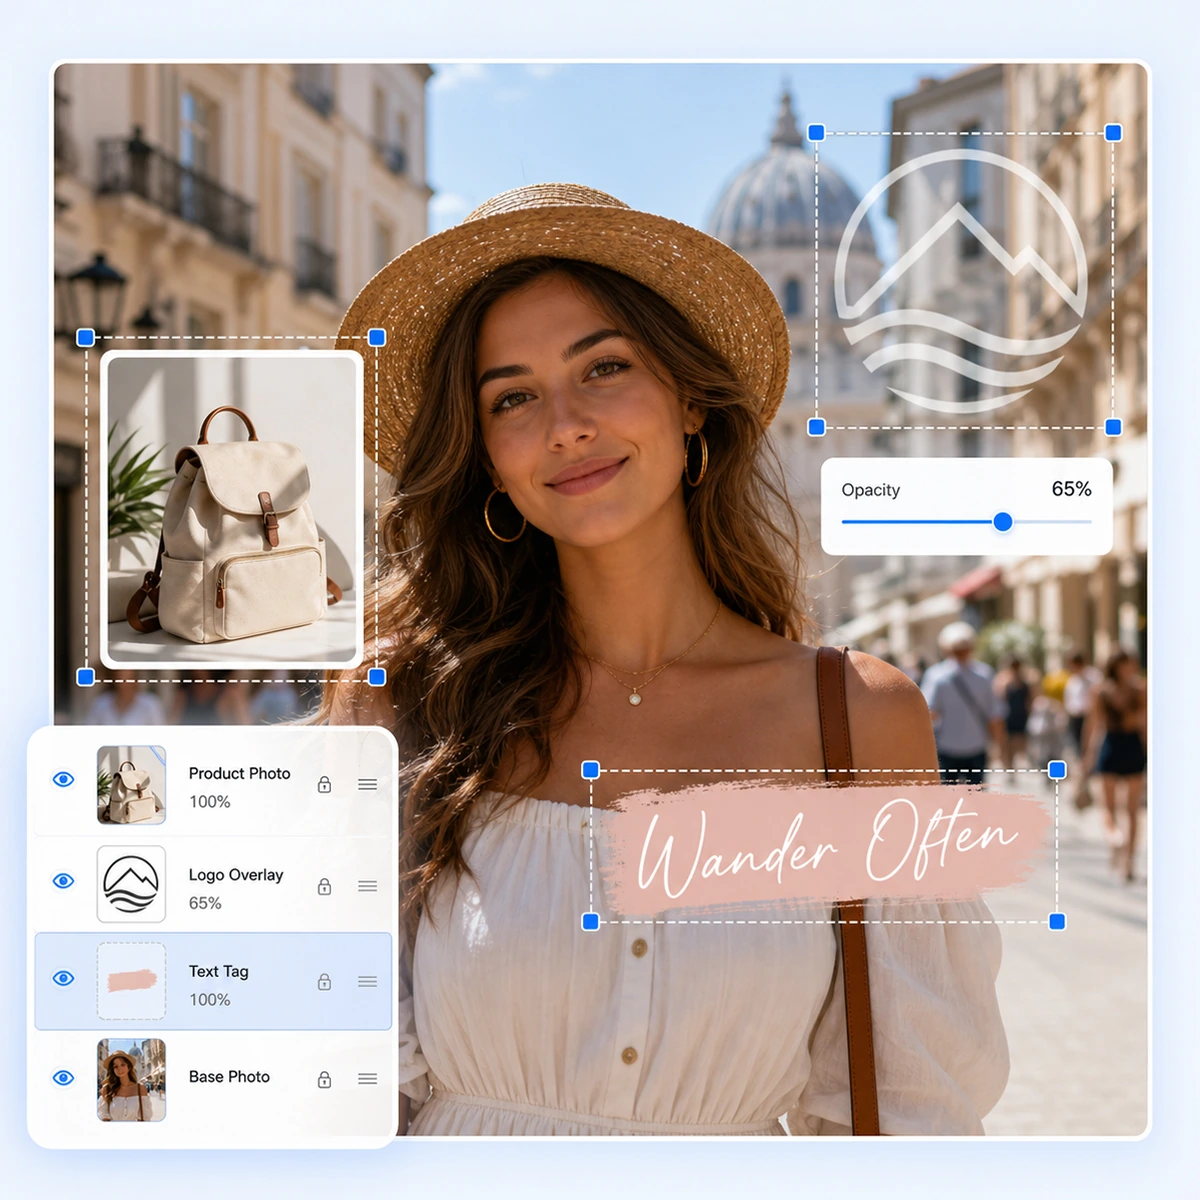
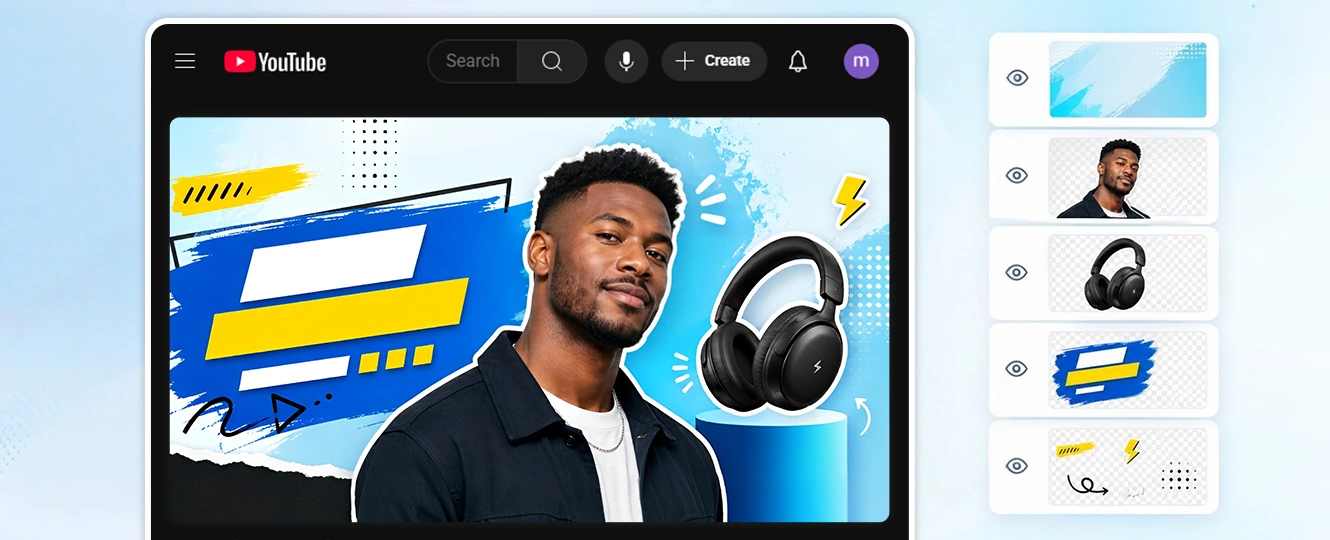
When you need to put one image over another, a full desktop editor can slow down a simple task. Pokecut gives you a direct image overlay workflow in your browser: start with a base photo, add a second visual layer, and see the composition as you move it into place.
The tool is useful for everyday edits such as adding a cutout person to a group photo, placing a product on a campaign background, or building a quick social graphic. If the overlayed image needs a cleaner edge, AI-assisted background removal can help prepare the layer before you arrange it.
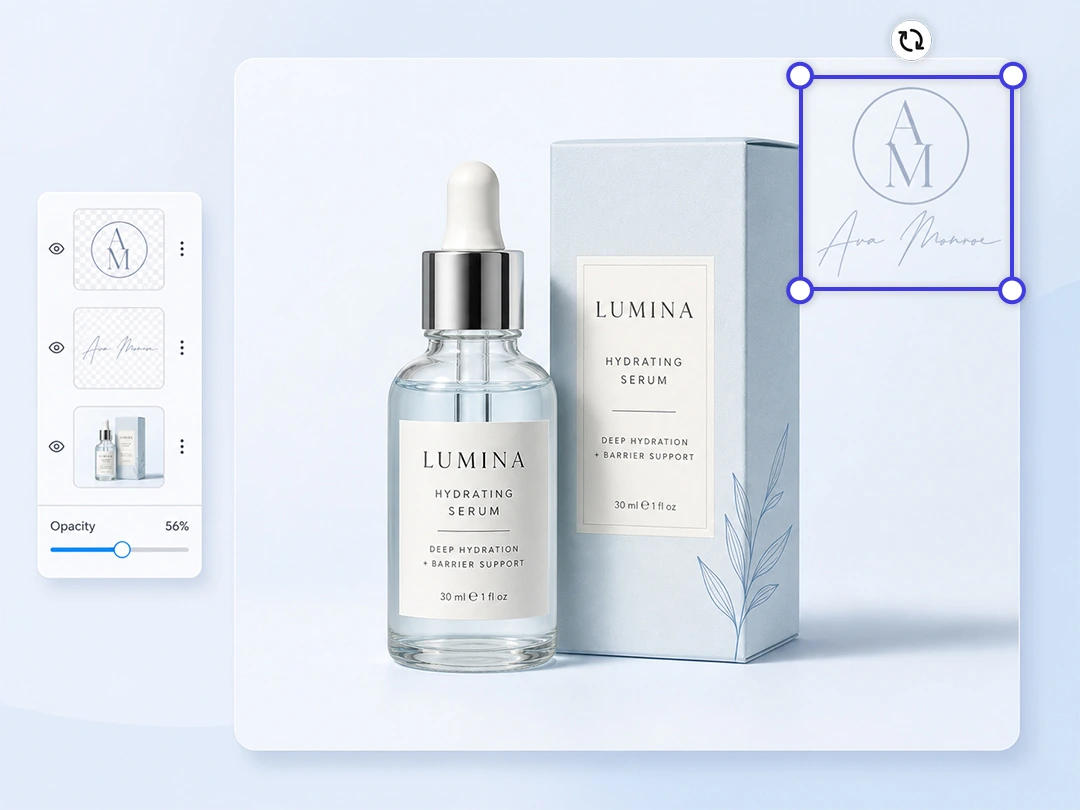
Add Photo on Photo with Adjustable Transparency
A good photo overlay should not hide the image underneath unless that is the effect you want. Use opacity controls to make a logo or transparent PNG sit lightly over the base image while the main subject stays visible.
This is especially helpful when you add a logo to a photo or place a dark layer behind text on a banner. The overlay stays useful without making the design feel crowded.

Edit Pic on Pic with Multiple Blend Modes
When you add photo on photo with Pokecut, you're not limited to a simple photo merge. Its powerful blend mode options allow you to create stunning visual effects. From Linear Burn to Hard Mix, each setting produces a unique style that transforms your photos into artistic compositions.
Experiment with advanced options such as Hue, Saturation, and Color Dodge to discover new ways of combining images. Whether you want to, edit pic on pic for double exposure, or simply layer images for a collage, Pokecut gives you total control. These professional-grade blend modes make it possible for anyone to achieve results once limited to complex software.
What Can You Create with Overlay Images?
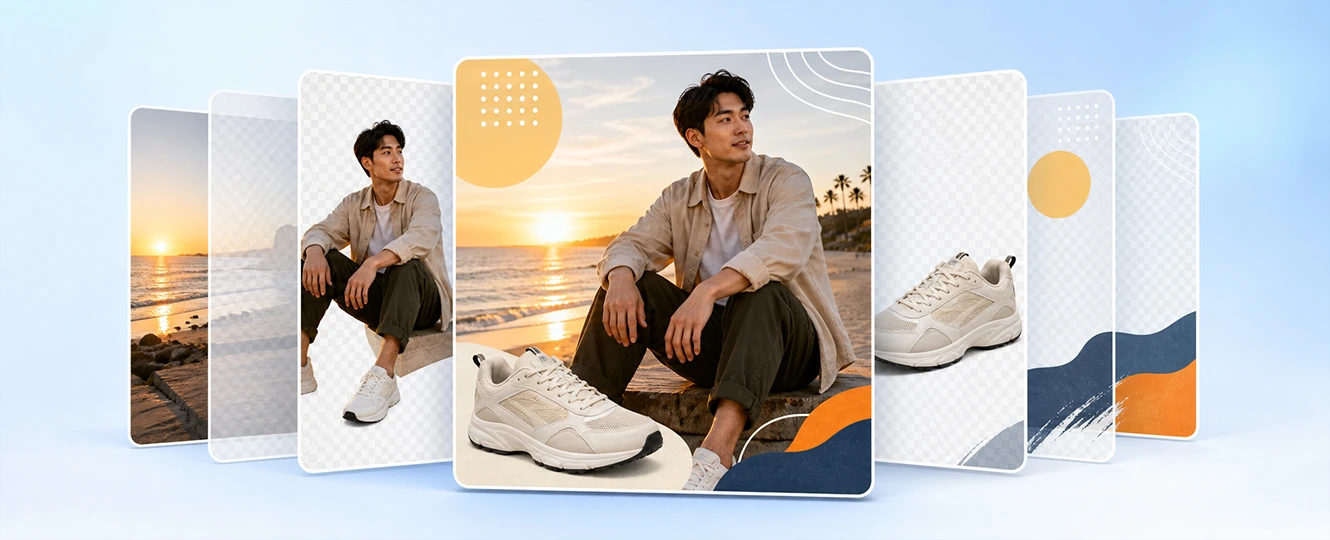
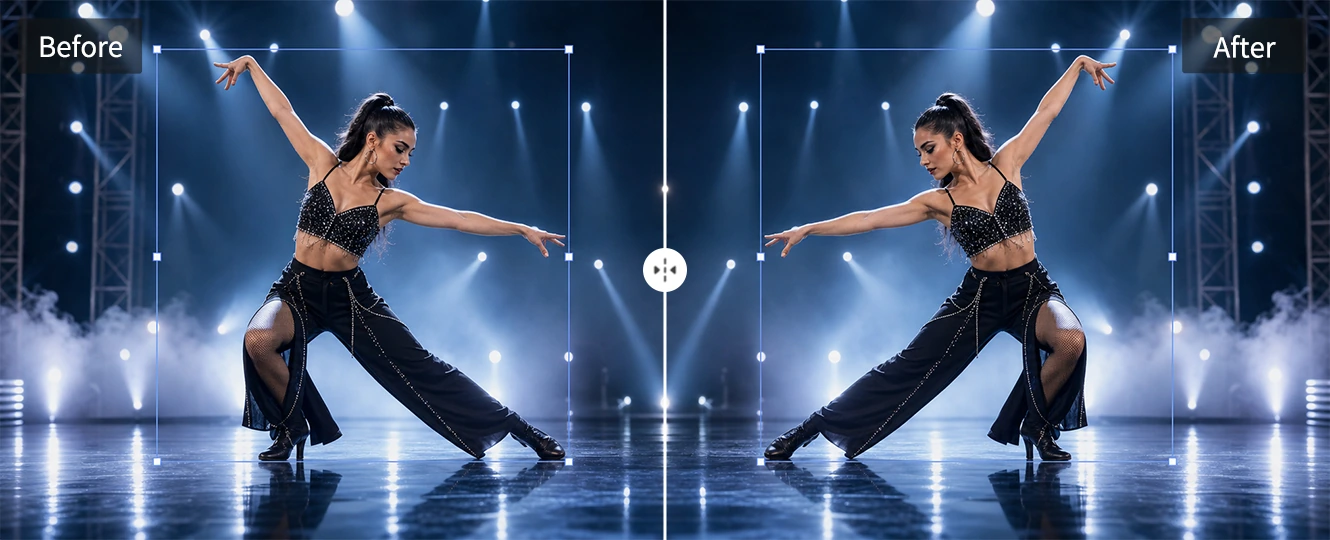

Overlay vs. Merge vs. Blend vs. Watermark
These actions are related, but they solve different editing needs. Use this quick guide to choose the right approach before you start editing.

Explore More Features of Pokecut
What Do Users Say About Pokecut's Image Overlayer?
Creators, sellers, and casual editors use Pokecut to layer photos, logos, and text for practical designs.


Mia R.

"I used it to add a logo watermark to product photos. The opacity control made the mark visible without covering the item."
Daniel K.
"The overlay workflow is easier than opening a full editor for a simple social post. I could move the product layer and download the graphic quickly."
Priya S.
"I needed a transparent PNG on top of a banner image. Pokecut gave me enough control to resize and place it without rebuilding the design."
Olivia T.
"The blend options helped me test a few texture overlays for a poster. I liked being able to preview the effect before saving."
Marcus L.
"I added arrows and labels over a screenshot for a tutorial. It was faster than making the whole image again in design software."
Hannah W.
"I used the tool to place a person cutout into a group photo. The layer controls made it easy to adjust the size and position."
Mia R.
"I used it to add a logo watermark to product photos. The opacity control made the mark visible without covering the item."
Daniel K.
"The overlay workflow is easier than opening a full editor for a simple social post. I could move the product layer and download the graphic quickly."
Priya S.
"I needed a transparent PNG on top of a banner image. Pokecut gave me enough control to resize and place it without rebuilding the design."
Olivia T.
"The blend options helped me test a few texture overlays for a poster. I liked being able to preview the effect before saving."
Marcus L.
"I added arrows and labels over a screenshot for a tutorial. It was faster than making the whole image again in design software."
Hannah W.
"I used the tool to place a person cutout into a group photo. The layer controls made it easy to adjust the size and position."
Mia R.
"I used it to add a logo watermark to product photos. The opacity control made the mark visible without covering the item."
Daniel K.
"The overlay workflow is easier than opening a full editor for a simple social post. I could move the product layer and download the graphic quickly."
Priya S.
"I needed a transparent PNG on top of a banner image. Pokecut gave me enough control to resize and place it without rebuilding the design."
Olivia T.
"The blend options helped me test a few texture overlays for a poster. I liked being able to preview the effect before saving."
Marcus L.
"I added arrows and labels over a screenshot for a tutorial. It was faster than making the whole image again in design software."
Hannah W.
"I used the tool to place a person cutout into a group photo. The layer controls made it easy to adjust the size and position."
Mia R.
"I used it to add a logo watermark to product photos. The opacity control made the mark visible without covering the item."
Daniel K.
"The overlay workflow is easier than opening a full editor for a simple social post. I could move the product layer and download the graphic quickly."
Priya S.
"I needed a transparent PNG on top of a banner image. Pokecut gave me enough control to resize and place it without rebuilding the design."
Olivia T.
"The blend options helped me test a few texture overlays for a poster. I liked being able to preview the effect before saving."
Marcus L.
"I added arrows and labels over a screenshot for a tutorial. It was faster than making the whole image again in design software."
Hannah W.
"I used the tool to place a person cutout into a group photo. The layer controls made it easy to adjust the size and position."
Mia R.
"I used it to add a logo watermark to product photos. The opacity control made the mark visible without covering the item."
Daniel K.
"The overlay workflow is easier than opening a full editor for a simple social post. I could move the product layer and download the graphic quickly."
Priya S.
"I needed a transparent PNG on top of a banner image. Pokecut gave me enough control to resize and place it without rebuilding the design."
Olivia T.
"The blend options helped me test a few texture overlays for a poster. I liked being able to preview the effect before saving."
Marcus L.
"I added arrows and labels over a screenshot for a tutorial. It was faster than making the whole image again in design software."
Hannah W.
"I used the tool to place a person cutout into a group photo. The layer controls made it easy to adjust the size and position."
Olivia T.
"The blend options helped me test a few texture overlays for a poster. I liked being able to preview the effect before saving."
Marcus L.
"I added arrows and labels over a screenshot for a tutorial. It was faster than making the whole image again in design software."
Hannah W.
"I used the tool to place a person cutout into a group photo. The layer controls made it easy to adjust the size and position."
Mia R.
"I used it to add a logo watermark to product photos. The opacity control made the mark visible without covering the item."
Daniel K.
"The overlay workflow is easier than opening a full editor for a simple social post. I could move the product layer and download the graphic quickly."
Priya S.
"I needed a transparent PNG on top of a banner image. Pokecut gave me enough control to resize and place it without rebuilding the design."
Olivia T.
"The blend options helped me test a few texture overlays for a poster. I liked being able to preview the effect before saving."
Marcus L.
"I added arrows and labels over a screenshot for a tutorial. It was faster than making the whole image again in design software."
Hannah W.
"I used the tool to place a person cutout into a group photo. The layer controls made it easy to adjust the size and position."
Mia R.
"I used it to add a logo watermark to product photos. The opacity control made the mark visible without covering the item."
Daniel K.
"The overlay workflow is easier than opening a full editor for a simple social post. I could move the product layer and download the graphic quickly."
Priya S.
"I needed a transparent PNG on top of a banner image. Pokecut gave me enough control to resize and place it without rebuilding the design."
Olivia T.
"The blend options helped me test a few texture overlays for a poster. I liked being able to preview the effect before saving."
Marcus L.
"I added arrows and labels over a screenshot for a tutorial. It was faster than making the whole image again in design software."
Hannah W.
"I used the tool to place a person cutout into a group photo. The layer controls made it easy to adjust the size and position."
Mia R.
"I used it to add a logo watermark to product photos. The opacity control made the mark visible without covering the item."
Daniel K.
"The overlay workflow is easier than opening a full editor for a simple social post. I could move the product layer and download the graphic quickly."
Priya S.
"I needed a transparent PNG on top of a banner image. Pokecut gave me enough control to resize and place it without rebuilding the design."
Olivia T.
"The blend options helped me test a few texture overlays for a poster. I liked being able to preview the effect before saving."
Marcus L.
"I added arrows and labels over a screenshot for a tutorial. It was faster than making the whole image again in design software."
Hannah W.
"I used the tool to place a person cutout into a group photo. The layer controls made it easy to adjust the size and position."
Mia R.
"I used it to add a logo watermark to product photos. The opacity control made the mark visible without covering the item."
Daniel K.
"The overlay workflow is easier than opening a full editor for a simple social post. I could move the product layer and download the graphic quickly."
Priya S.
"I needed a transparent PNG on top of a banner image. Pokecut gave me enough control to resize and place it without rebuilding the design."
Olivia T.
"The blend options helped me test a few texture overlays for a poster. I liked being able to preview the effect before saving."
Marcus L.
"I added arrows and labels over a screenshot for a tutorial. It was faster than making the whole image again in design software."
Hannah W.
"I used the tool to place a person cutout into a group photo. The layer controls made it easy to adjust the size and position."
Mia R.
"I used it to add a logo watermark to product photos. The opacity control made the mark visible without covering the item."
Daniel K.
"The overlay workflow is easier than opening a full editor for a simple social post. I could move the product layer and download the graphic quickly."
Priya S.
"I needed a transparent PNG on top of a banner image. Pokecut gave me enough control to resize and place it without rebuilding the design."
Reviews from: Reddit, Product Hunt, G2, TrustRadius, Google Play, App Store, and more.
Pokecut Trusted by Millions of Users

1M+ Users Worldwide
Pokecut generates over 500,000 images every day.

#2 on Product Hunt
Pokecut launched and won Product Hunt recognition.

Privacy-Conscious Editing
Pokecut designs editing workflows with user privacy in mind.

Built for Daily Work
Creators and teams use Pokecut for practical image edits.
FAQ
What is an image overlay?
An image overlay is a layer placed above a base image. It can be another photo, a logo, text, a transparent PNG, a sticker, or a soft mask used to change the look of the final picture.
Can I add text or a logo overlay to an image?
Text and logo overlays work well for labels, signatures, watermarks, and social graphics. Upload the base image, add the text or logo layer, then adjust placement and opacity so it does not cover the main subject.
What is the difference between overlaying and merging images?
Overlaying means placing one layer over another while you are still editing. Merging is usually the final step, when the layers are saved together as one finished image.
Can I use image overlays for watermarks?
Watermarks are one of the most common overlay uses. Add a logo or signature, reduce the opacity, and place it near a corner so the image remains clear while the brand mark stays visible.
Will an image overlay reduce photo quality?
The final quality depends on the source image and export settings. For cleaner results, start with a sharp base photo, avoid enlarging small overlay files too much, and preview the composition before downloading.